Cabinets for My Shop
I have a small shop! it’s about the size of a 1 car garage. The tools I am trying to put in it really belong in a much larger space. It’s important that smaller and medium sized tools don’t consume much floor space.
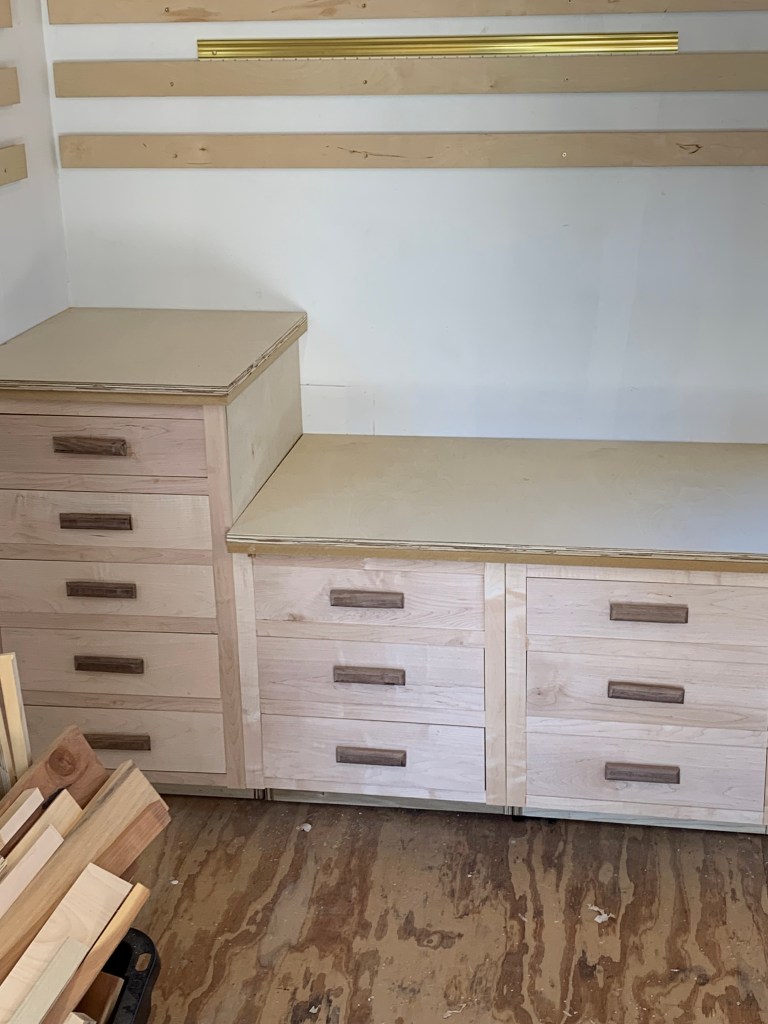
When I decided to install a lathe, it had to be mounted on a cabinet to save floor space. If installed on a standard sized cabinet it would be too tall and unusable! The only solution was a custom height cabinet which would place the lathe center at elbow height. Close to the lathe, I needed a grinder for sharpening my tools. The grinder needed to be mounted on a standard height cabinet. Of course, below the tools I had to have storage.
Determining the design
The length of the cabinet is no more than 60 inches. The length of the lathe is 39.3 inches. This means that the lowered part of the cabinet is 2/3 of it;s length. My grinder needs about 17 inches. This worked out perfectly! I made three cabinet boxes totally 60 inches.
I designed the cabinets using Sketchup! This provided me with a cut list and a parts list. I worked out all of the details during the design phase. Many of the mistakes I could have made were discovered during this phase.
The top needs to be heavy! The heavier I make the cabinets, the less they would vibrate when the lathe is running. To achieve making a heavy top, I laminated 3/4 inch medium density fiberboard with 3/4 inch plywood.
Constructing the carcasses
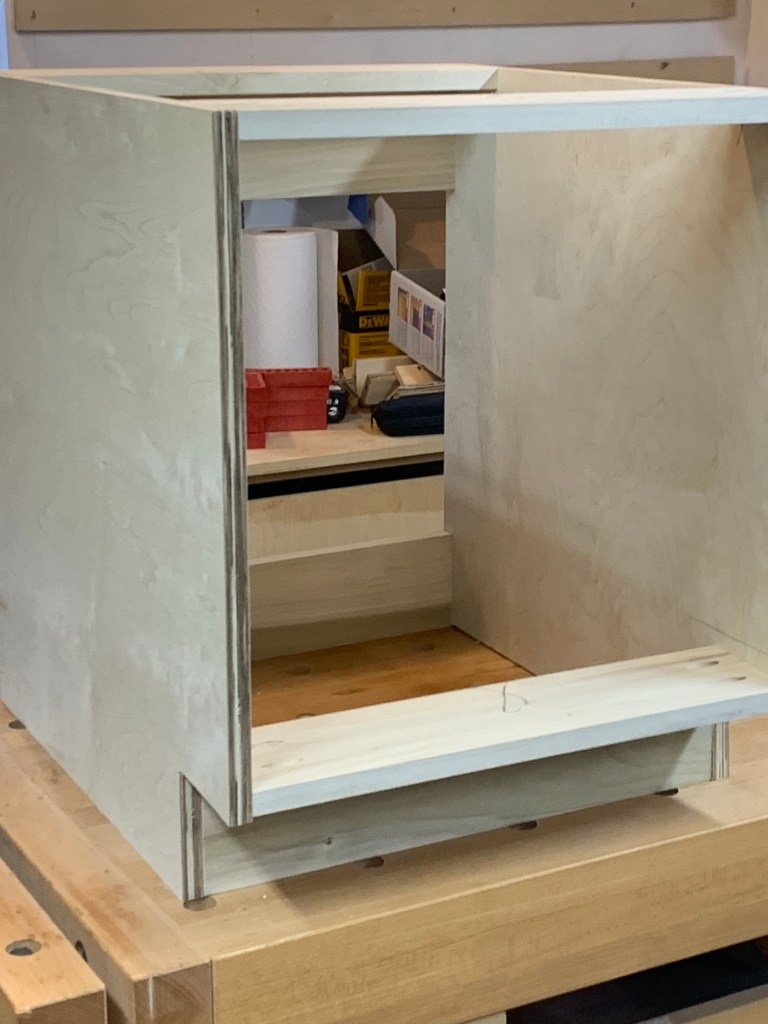
The carcasses are made from 3/4 inch plywood and 1×6 poplar. Plywood for the sides and poplar for the stretchers. The joinery was kept simple by using pocket screws. Of course the parts were glued and screwed together. My design had no back or bottom.
Once I assembled the carcasses, I started making the face frames. To maximize organization and storage capacity, these cabinets have nothing but drawers. The face frames determined the drawer depth and spacing.
The Face Frames
The face frames were fabricated from 3/4″ maple.Again, to keep it simple, I employed glue and pocket screws. To the purists reading this, you are thinking I should have used mortise and tenon joints. Remember, this is shop furniture.
The Drawers
I made the drawer boxes from 1/2″ plywood. I’ll leave the joinery I used to your imagination. The drawer fronts were made from 3/4″ maple.

Next, I made the drawer handles from 3/4″ walnut. The handles were made on the router table. I embedded threaded inserts in the handles which completed the part.
Finally, it was time to finish the drawer assembly! I positioned the drawer front. Then, I drilled through the drawer front into the drawer box. After that, I attached the handle to the drawer with 1.5 inch 1/4×20 screws and washers.
I set the cabinets on the floor. I leveled the assembly. Then, I aligned the cabinets to each other. Finally, I anchored the assembly to the wall.
Installing the Top

Now is the time to install the top. Since I wanted the lathe to be solidly mounted, I installed the lathe to the top before installing the top. With the upper and lower top attached to the cabinets, I glued 3/4″ walnut edge banding to the top. After the glue dried, I used a trim router to align the edge banding to the plywood of the top.
To protect the cabinets, I used 2 coats of a wipe on polyurethane finish.
Conclusion
I am very pleased with the final results of this build. As always with a build, I learned how not to accomplish a task. I am anticipating my next cabinet build.
