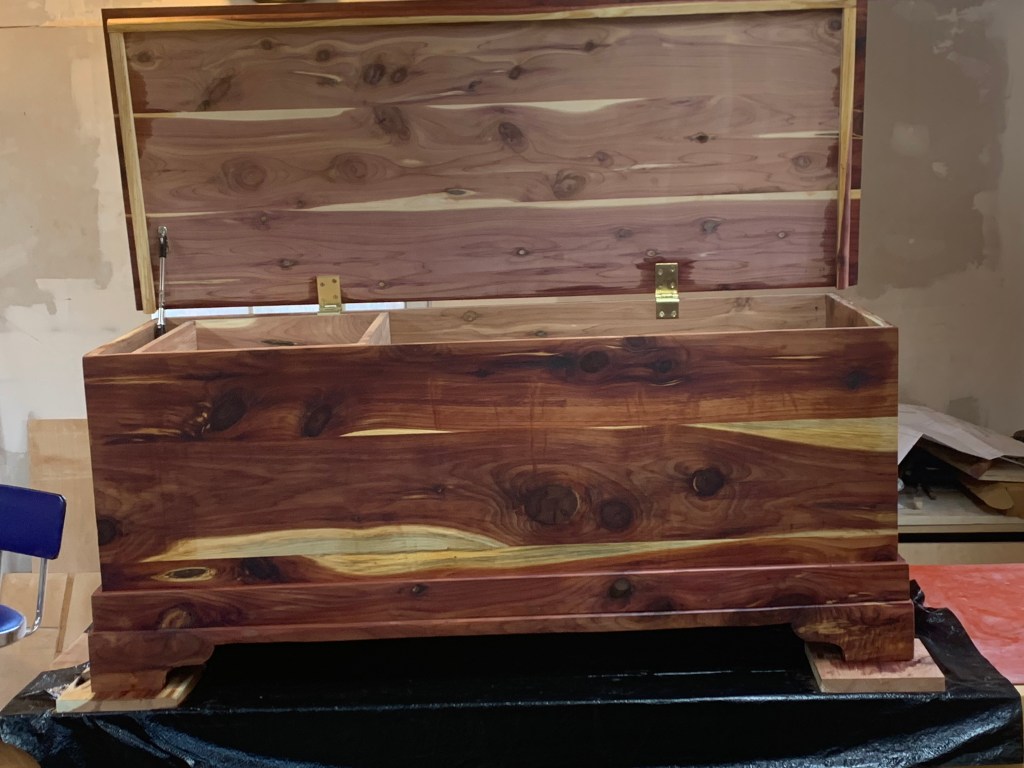
The Cedar Chest
As stated before, this cedar chest was requested by a friend. The start to this project was to find the plans that I wanted to follow. The plans came from Woodcraft Supply.
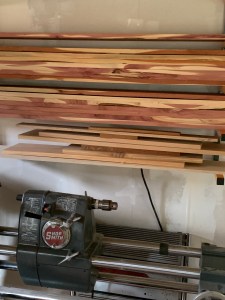
Next was to obtain the wood. I knew that I wanted Red Cedar and the plans called for 50 board feet (BF). I ordered this from Woodworkers Source in Phoenix, AZ. When the wood arrived, I had to let it acclimate in my shop for a couple of weeks. You have no idea how hard it is to purchase several hundred dollars of wood and then ignore it for a couple of weeks.
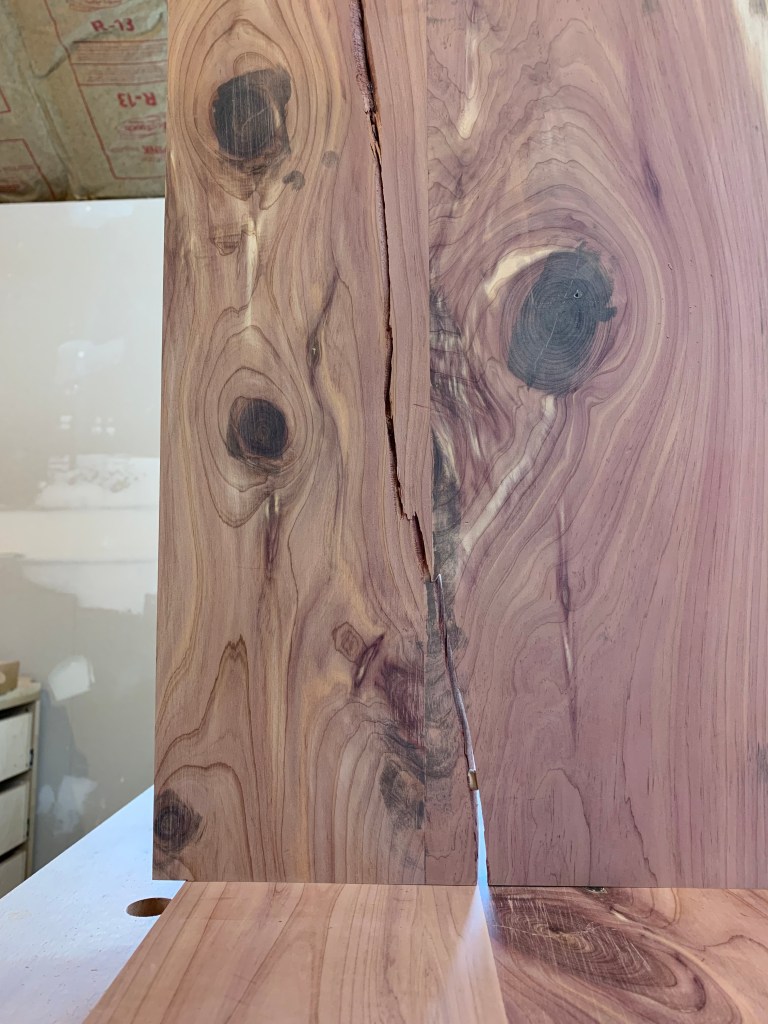
The next step is to select the boards for each panel (top, bottom, right side, left side, front and back). Periodically in the acclimating process, a board misbehaves. To account for this, the quantity of the wood in the plans is over estimated. When a board misbehaves, the decision is made to either repair it, salvage part of it, or count the whole thing as waste. The next steps are to make the boards flat, square and straight, glue up the panels, cut the panels down to size, cut the joinery, and assemble the parts. When everything looks good, glue it up and get it in the clamps.
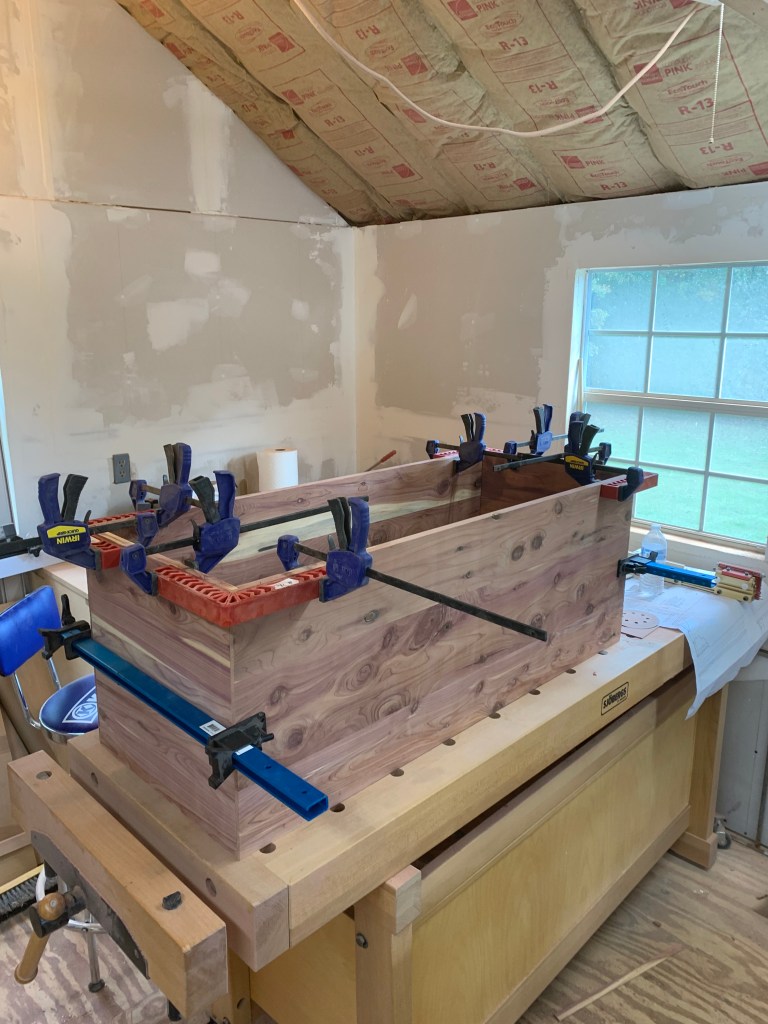
After the glue cures and the clamps are off, the hard part begins:
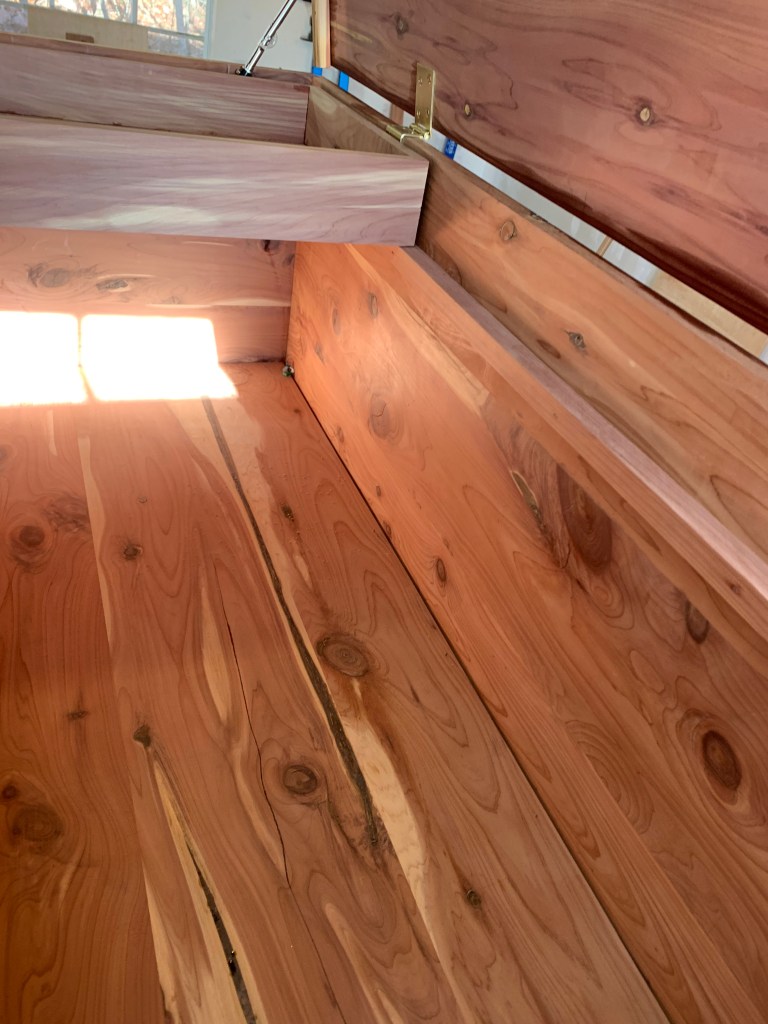
- fitting the bottom,
- making the feet and the trim,
- fitting the top,
- cutting the mortises in the back for the hinges,
- installing the top,
- applying the finish.
The finish in this case is tung oil. The problem with tung oil is that it takes about a month to cure enough to protect the piece.
I delivered the piece before the finish cured. My friend and his wife were delighted to own this piece of fine furniture!
