The learning curve for a new skill is higher than expected!
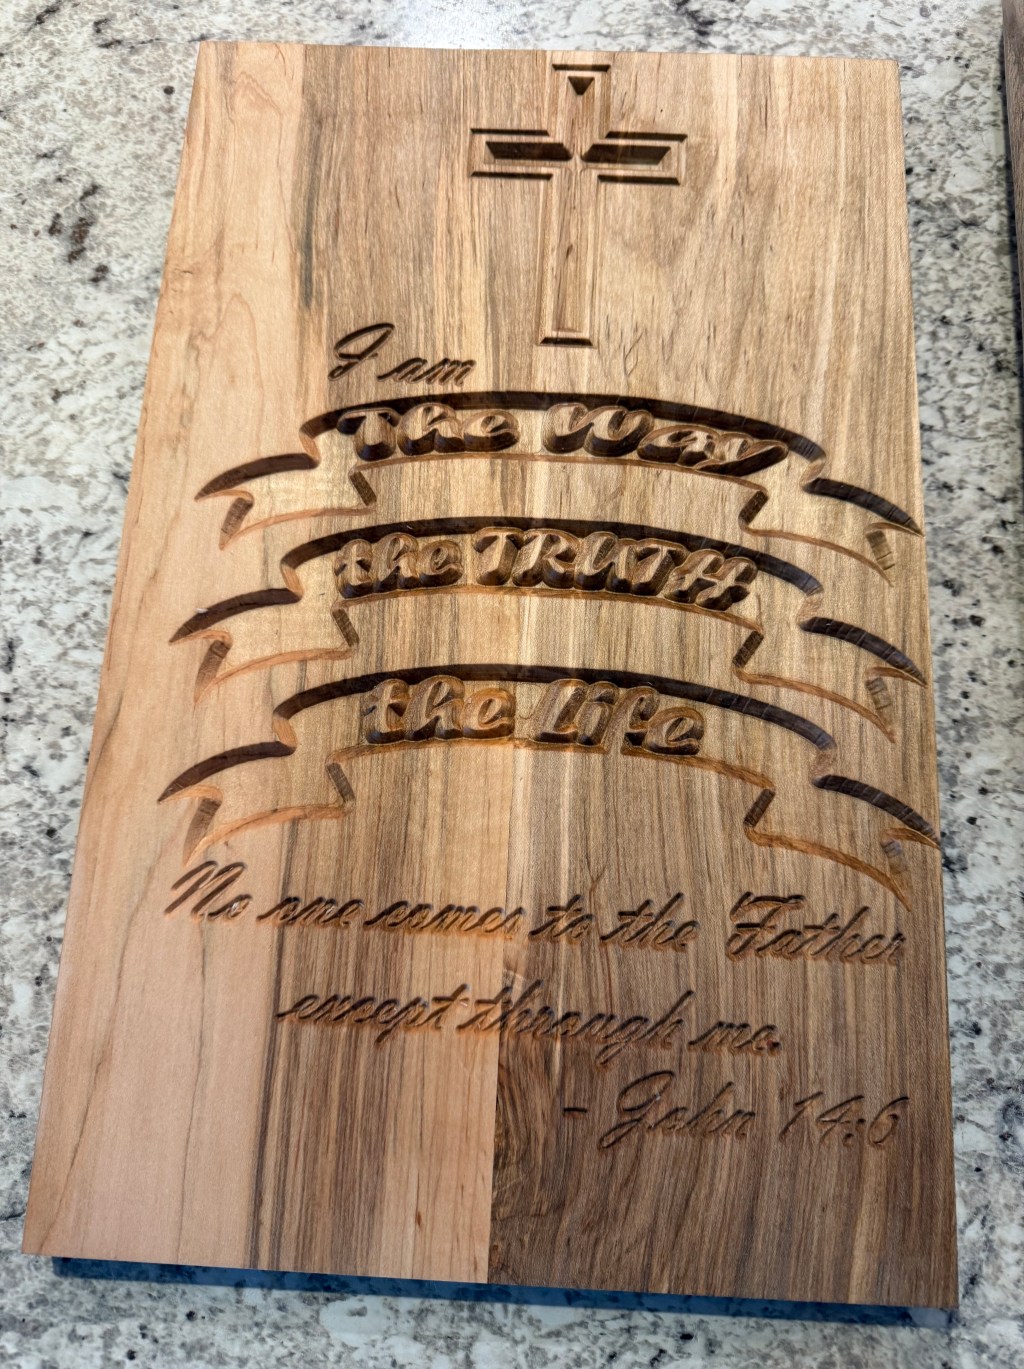
I carved my first plaque on my CNC. I learned several things while doing that.

- Resizing the material is tricky. My board was .5 inch narrower than the design. To keep the proportions, I needed to cut the length by .75 inch. In the design software resizing was easy, so I thought! My design, when cut, was not centered on the material. I know why but I don’t know how to fix it. Yet!
- The next problem was a total surprise. The carving did not stand out from the background. I need to do something to create contrast. I could paint the board before carving. That would hide the beauty of the wood. I could paint the carved out sections of the piece. I like that idea except if painted by hand it might end up a total mess. Another way to accomplish the same thing is to paint the whole piece after carving then sand the paint off of the high spots. An additional idea is tk veneer the the material with a contrasting wood to make the carving stand out. Finally, I could inlay the design into the material. This would eliminate the 3D effect I was going for and introduce another new skill set.
I imagine I will try a couple of these art some point. - How do I attach this artwork to the wall? I think the best way is with a keyhole and screw. That method would be easy to mess up. I created a jig that perfectly aligns the keyhole. Problem solved!
I hope you learn from my experience.it will avoid the disappointment felt after such high expectations!

Leave a comment